Green Tea That Actually Works : Your Guide to Weight Loss and Radiant Skin
Your skin basically tells the world what’s happening inside your body. When I first started drinking green tea regularly, someone at the gym.
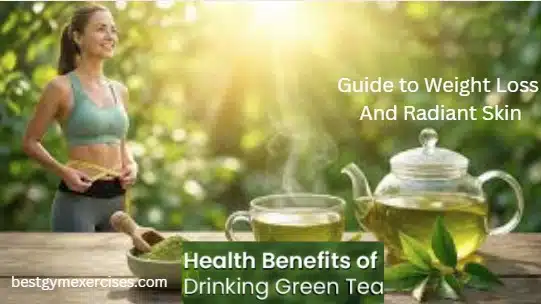
Your skin basically tells the world what’s happening inside your body. When I first started drinking green tea regularly, someone at the gym.

Looking for frozen egg noodles at Whole Foods? Learn what to buy, how to store & cook them, plus get creative recipe ideas for quick, nutritious meals.
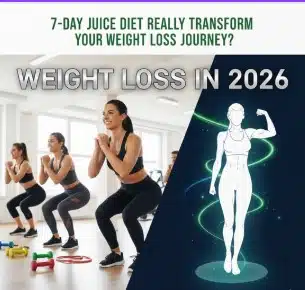
Juices contain minimal protein. Seven days without adequate protein is manageable for most healthy adults, but consider adding a plant-based protein powder to one juice daily if concerned.

Find the perfect gym outfit brands women recommend. Compare Australian, Canadian, and US brands. Budget-friendly to premium options reviewed.
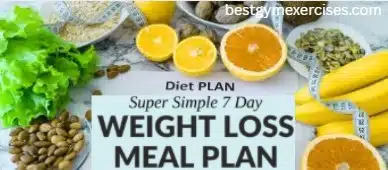
Discover a practical 7 day veg diet plan for weight loss with daily meal ideas, nutrition tips, and expert guidance. Easy vegetarian weight loss made simple.
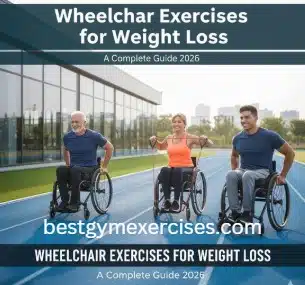
Learn how to lose weight using a wheelchair with practical exercises, nutrition advice, and weekly schedules. Includes cardio, strength training, and expert tips.

Complete guide to the best gym lifting shoes women can buy in 2026. Compare top models, learn about heel heights, sole materials, and find shoes for wide or flat feet.

Find the best 100 cotton gym shorts for women. Expert tips on fabric types, fit, care, and when cotton works best for your fitness routine in 2026.

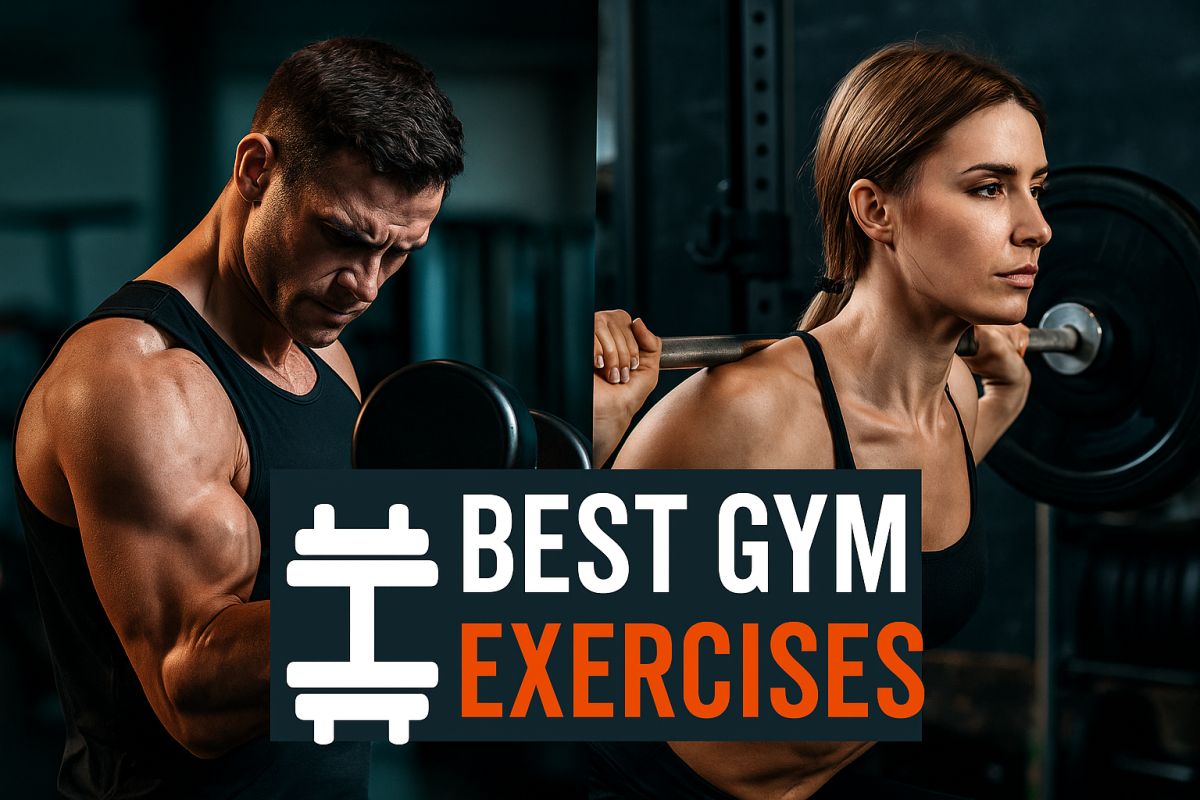
Starting strength training can feel intimidating, especially if you are unsure where to begin or what exercises actually work. This beginner gym strength training routine women can follow focuses on simple, full-body workouts designed to build confidence, strength, and consistency without overwhelm. You will learn how often to train, what exercises to prioritize, and how to choose the right weights as a beginner. Whether you are new to the gym or returning after a break, this guide offers practical advice, realistic expectations, and a clear path to getting stronger safely and steadily.
Join our fitness community and receive weekly gym workout plans, fat-burning tips, and muscle-building guides — directly to your inbox!