The Exercises in the pool for lower back pain Feel Better
Transform your back health with water exercises. Complete guide to pool workouts that ease lower back pain, build strength, and improve flexibility safely.

Transform your back health with water exercises. Complete guide to pool workouts that ease lower back pain, build strength, and improve flexibility safely.
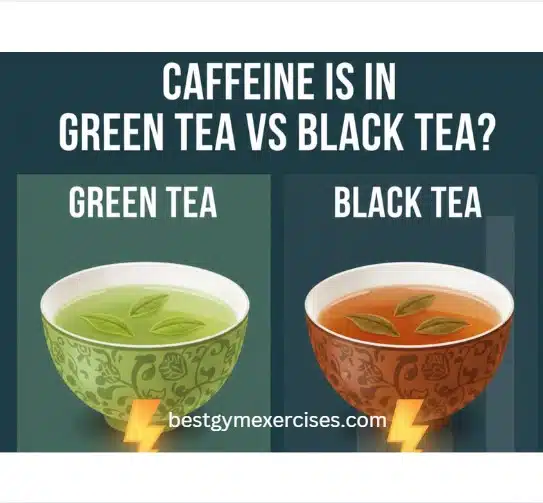
Choosing between green tea and black tea is not difficult. By understanding the coffee level, preparation technique, and your tolerance, you can enjoy tea at the right time for your energy and work.

Relieve back pain naturally with Chinese medicine. Explore acupuncture points, herbal remedies, cupping, and Qigong exercises proven effective for centuries.

Continued results require progressive overload. Gradually increase weight, repetitions, or reduce rest times to challenge the muscles. Even small weekly improvements add up over time.

Find the best green tea for weight loss and glowing skin. Expert guide covers Matcha, top brands, timing, and how to combine with exercise for maximum results.

Your skin basically tells the world what’s happening inside your body. When I first started drinking green tea regularly, someone at the gym.

Looking for frozen egg noodles at Whole Foods? Learn what to buy, how to store & cook them, plus get creative recipe ideas for quick, nutritious meals.

Juices contain minimal protein. Seven days without adequate protein is manageable for most healthy adults, but consider adding a plant-based protein powder to one juice daily if concerned.

Find the perfect gym outfit brands women recommend. Compare Australian, Canadian, and US brands. Budget-friendly to premium options reviewed.

Join our fitness community and receive weekly gym workout plans, fat-burning tips, and muscle-building guides — directly to your inbox!